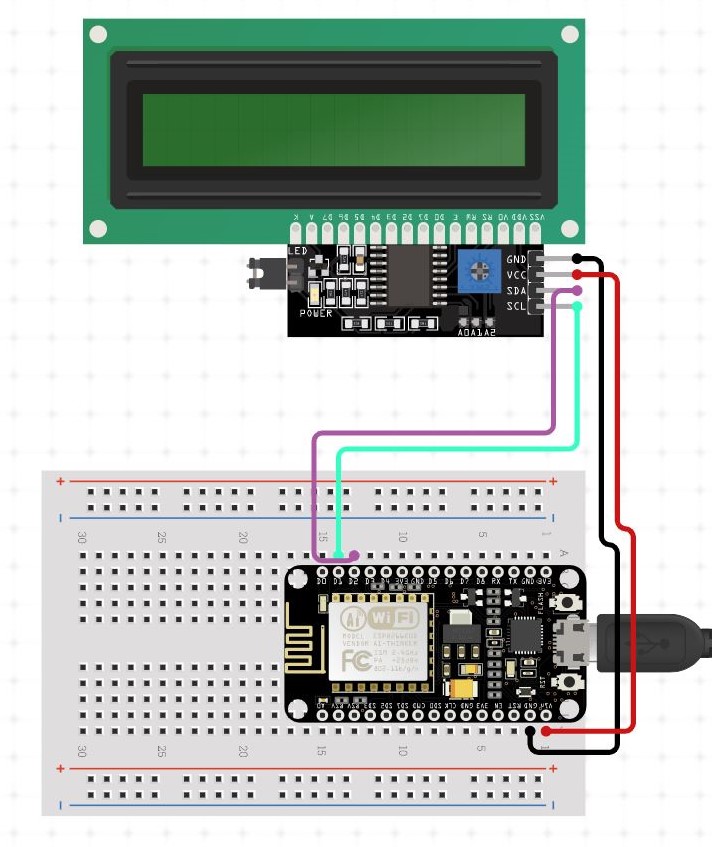
Connect the LCD Display with NodeMCU according to the circuit diagram shown below:
Connections:
                     LCD GND to GND of NodeMCU
                    LCD VCC to 3V of NodeMCU
                    LCD SCL to D1 of NodeMCU
                    LCD SDA to D2 of NodeMCU
Create an API using Thingspeak
Steps:
Open the Website you want to get the data from in chrome or Firefox. For India, I’ll use www.mohfw.gov.in
Select the part of the data you want and right-click on it, click on ‘Inspect’ after right-clicking.
Now in the HTML layout window, you will find the selected part highlighted. Now right click on the highlighted part and go to ‘Copy’ and click on “COPY XPATH”.
Login to your Thingspeak account under the name “Apps” select “ThingHTTP” you will arrive at the following page.
Now create a new ThingHTTP by clicking on the button in Green.
Give it a name. I’ll give it as “COVID19 Cases India” in the name field.
Now paste the XPath copied in Step 3 in the “Parse String” field at the end of the page. Then to the same URL append “/text()” at the end.
Now paste the website URL in the “URL” field that you had opened in Step 1. In my case, it is “www.mohfw.gov.in” .
Save the ThingHTTP by clicking the button at the end of the page.
you will get the API as shown in above Video.
copy the API you have received and paste it in new tab. You must get the data as shown video
In the following code replace “SSID” and “Password” values with your WIFI and Password.
now copy the 16 digit API key from ThingHTTP site and paste it in the “XXXXXXXXXXXXXX” part. Generate a different API key for different data and paste it in their respective section. Like I’ve done there for cases, death and recovered.
Now connect your NodeMCU to your PC and select the board as NodeMCU 1.0 (Tools -> Board “NodeMCU 1.0 (ESP-12E Module)” -> NodeMCU 1.0 ).
Now select the Right Port for your NodeMCU and upload the code by clicking the upload button.
Most teams across IT organizations need access to virtual machines (VM), or Elastic Compute Cloud (EC2), for various developmental activities in the AWS ecosystem. Providing Secure Shell (SSH) access with well-defined security policies and roles Read more…
We at Ambee are always dealing with large chunks of data ( ~4TB / day ). Now that’s huge. You obviously can’t handle it using pandas ( or can you? ) Here is where the Read more…
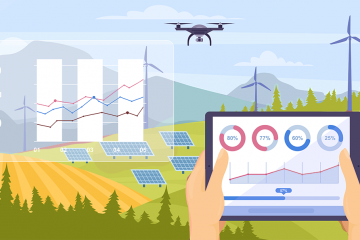
Idea in brief: The United Nations estimates the global population to reach 9.8 billion by 2050, making the food and agriculture industry more important than ever To address the pressure of ever-increasing demands, stakeholders of Read more…