“ Have you ever thought of getting your device’s location without using any GPS hardware? ”
“ Are you curious about how your NodeMCU can track your location? ”
I have a solution and it is possible to get the live location coordinates just using NodeMCU ESP8266 board without any extra hardware. The output will be coordinates where you are located and you will see them in your serial monitor. This becomes possible because of Google’s Geolocation API.
So let’s get start how this Geolocation API works and how we are able to get the location using this.
How Google Geolocation API works?
As you know Google takes the input of our nearby WiFi routers and in response gives us the coordinates. Smartphones have GPS and Wi-Fi enabled all the time so, Google provides an API which not only tracks our location but it also tracks the nearby Wi-Fi networks. For example: If a person is walking in an open area with Wi-Fi and GPS enabled so his smartphone is constantly scanning the nearby Wi-Fi networks and Google continuously saves the MAC addresses and the name of this Wi-Fi networks along with the location of his phone.
So based on the signal strengths received by phone, Google estimates the location of that particular Wi-Fi network and it tries to saves that data into the database. Therefore, next time if anybody will pass through that same Wi-Fi networks and does not have GPS enabled in his phone he/she can still get the location of the phone based on the location of that particular Wi-Fi network.
To create your own Google Geolocation API key and to study about how Google’s Geolocation API works, go to this page.
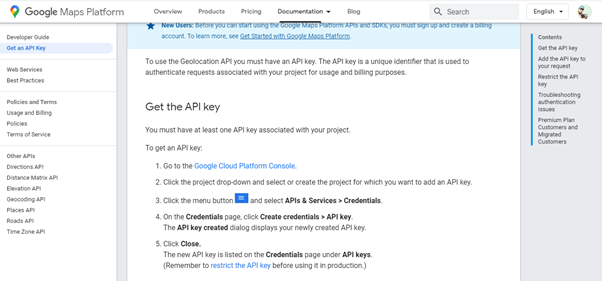
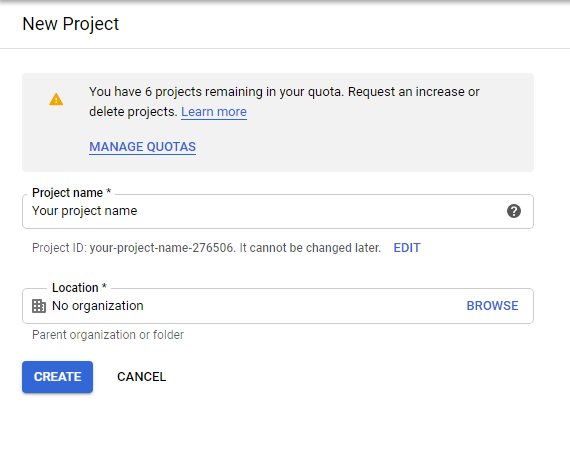
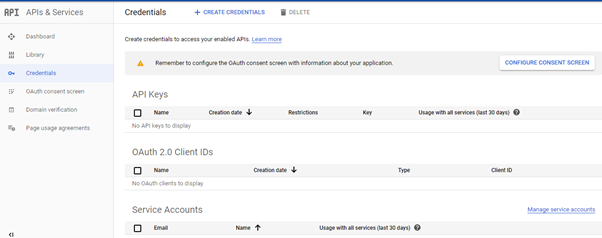
Getting API key from Google Cloud
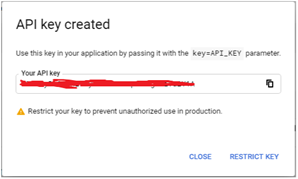
To use Google’ Geolocation service, we need a Google account and API key. Follow below steps to get the API key.
Step 3:-Inloop function, we will scan all the nearby Wi-Fi networks and extract the MAC address and strength of these networks. After that, we make the json string from the extracted information and send it to the Google cloud and in return of it we get the co-ordinates of the location in terms of latitude, longitude and accuracy.
Note:- Accuracy will depend on number of Wi-fi networks available nearby.
int n = WiFi.scanNetworks();
Serial.println("scan done");
if (n == 0)
Serial.println("no networks found");
else
{
Serial.print(n);
Serial.println(" networks found…");
if (more_text)
{
Serial.println("\"wifiAccessPoints\": [");
for (int i = 0; i < n; ++i)
{
Serial.println("{");
Serial.print("\"macAddress\" : \"");
Serial.print(WiFi.BSSIDstr(i));
Serial.println("\",");
Serial.print("\"signalStrength\": ");
Note: I used Arduino JSON6 version. So, modify your code according to your Arduino JSON version.
Step 5:-Upload the full code given at the end to the board and open the Serial monitor. You will see the co-ordinates and accuracy of your location as shown below:
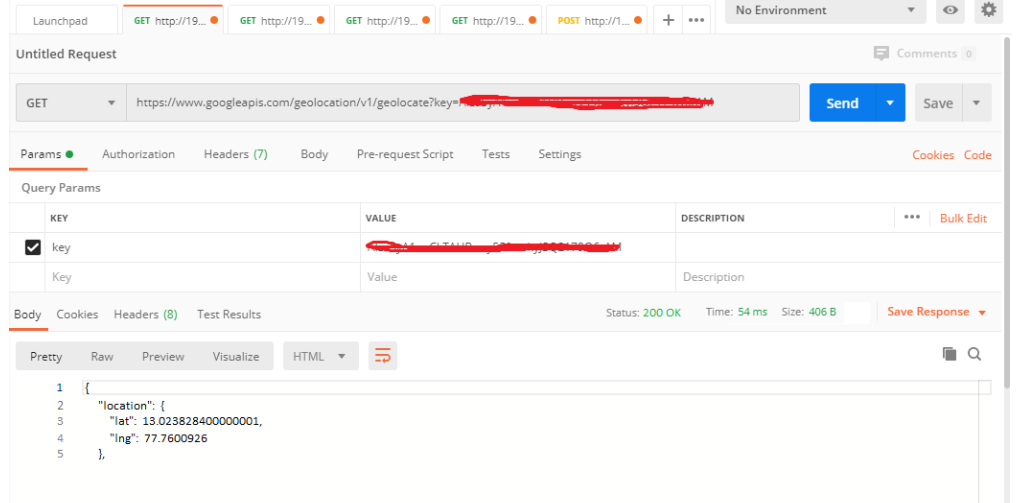
You can also check & test the HTTPS URL i.e. “https://www.googleapis.com/geolocation/v1/geolocate?key=<YOURAPIKEY>” by GET request in POSTMAN, whether its working on not.
Testing the HTTPS URL in postman
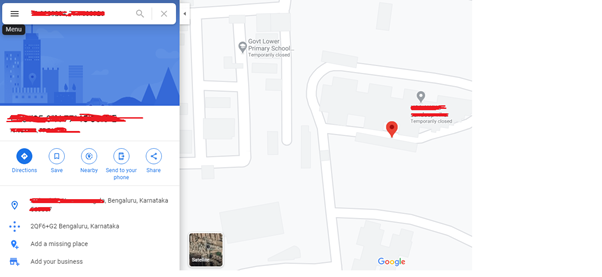
Step 6:- Now, open your Google maps in your smartphone or laptop and enter the latitude and longitude separated by comma (,). You will see your location on the map as shown.
Most teams across IT organizations need access to virtual machines (VM), or Elastic Compute Cloud (EC2), for various developmental activities in the AWS ecosystem. Providing Secure Shell (SSH) access with well-defined security policies and roles Read more…
We at Ambee are always dealing with large chunks of data ( ~4TB / day ). Now that’s huge. You obviously can’t handle it using pandas ( or can you? ) Here is where the Read more…